I've wanted to make myself a robe for a while. I can't stand the texture of the fluffy robes I found everywhere I looked though.
I found this great tutorial at Melly Sews a while ago. And I sort of held onto it for a while. After all, a robe isn't really a "need", much more of a "want".
Around the same time, Iordered this quilt backing from Missouri Star Quilt Company to make myself a weighted blanket:

But when it arrived, I realized that I had made a mistake.
They do have a picture on their website that shows the fabric selvage-to-selvage:
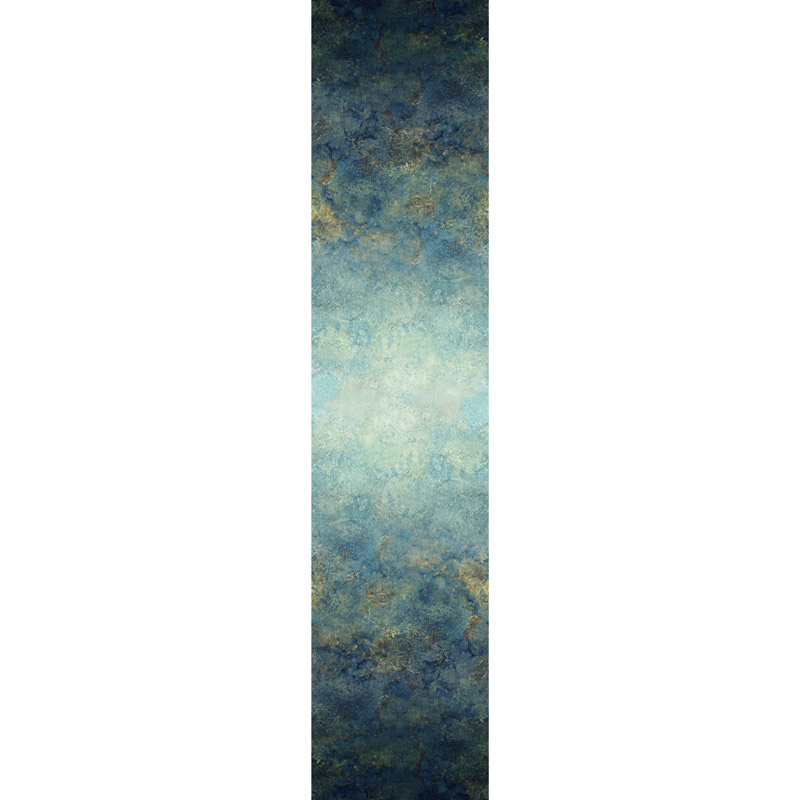
I, however, failed to realize that 108" wide ombre was not what I wanted for a 54"x72" quilt backing -- it would have made a weird, unbalanced pattern.
So the fabric just sat for a while. I love the colors and fade from a pale minty blue to deep navy though, and really wanted to use it in something that could show off the colors well. I initially thought dress, but then I remembered I wanted to make a robe.

I had to modify the pattern a bit. Mostly because I failed to notice that my hip measurement was the one I should have based the pattern widths off of -- I added some emergency godets to help the robe close in front.
 |
| Robe pieces, before I stitched them together and figured out I cut them too small... |
 |
| Emergency godets |
 |
| Not how things were actually stitched, but just illustrating how the godets were inserted! |
For the contrasting binding, I cut a 5" strip from selvage to selvage, the cut it at the center, and sewed the selvages together. Then attached some lighter colored scraps from other pattern cutting to get the correct length. The colors contrast really nicely with each other, I think.
 |
| Binding pieces |
I hemmed the sleeves very carefully, as I didn't want visible stitches. I took my time and only picked up two threads on the outer part of the sleeve. I used a cream-colored thread, and that combined with the tiny stitches means the line of stitches are almost invisible from the outside.
 |
| Can you see the stitches? |
Even after making a full-sized robe, I still have plenty of fabric left over, and haven't decided what to do with the rest!
Comments
Post a Comment
Comments? Concerns? Criticism?