I've been considering a CSM (circular sock machine) for a while, but my budget has kept me from buying one. I really want the ability to crank out sock snakes and hand-finish the heels and toes. I discounted flat-bed machines because how would you knit in the round on a flat-bed machine?
And then I stumbled on a post that said you can in fact knit in the round, or, knit tubular as machine knitters are more likely to say, on a flat-bed machine. The secret? A ribbing attachment! (Or a double bed machine, but those are fairly rare).
So I started the hunt for a knitting machine and ribbing attachment. I found the perfect machine for me a few weeks ago. Here it is knitting a ribbed cowl:

My requirements were a machine plus ribbing attachment, in working order, with everything needed to start knitting (minus a sponge bar). Also something local, because shipping for these machines gets expensive and can destroy the machine. And of course, something in my price range!
I searched through Craigslist, NextDoor, Ravelry (the machine knitting group has a great thread to evaluate machines for purchase!), and finally Facebook Marketplace, where I found a listing for a machine that fit all my requirements. However, it was three hours away from me, and had no built-in patterning ability. I decided that lace and colorwork were nice things to have, but not requirements for me. After all, I wanted a CSM for cranking out sock snakes at lightning speed, not fancy patterning.
So I decided to buy the machine. The seller was kind enough to demonstrate it working and give me a few pointers while I was there to pick it up.
I did not set it up as soon as I got home -- I was quite exhausted after driving over 6 hours through traffic.
But first thing the next morning, I set it up and started figuring out how to use it! This is the first picture of it in my apartment:
 |
| SK10 + carriage + cute row counter |
One of my favorite parts about this machine is the row counter -- it's seriously so cute.
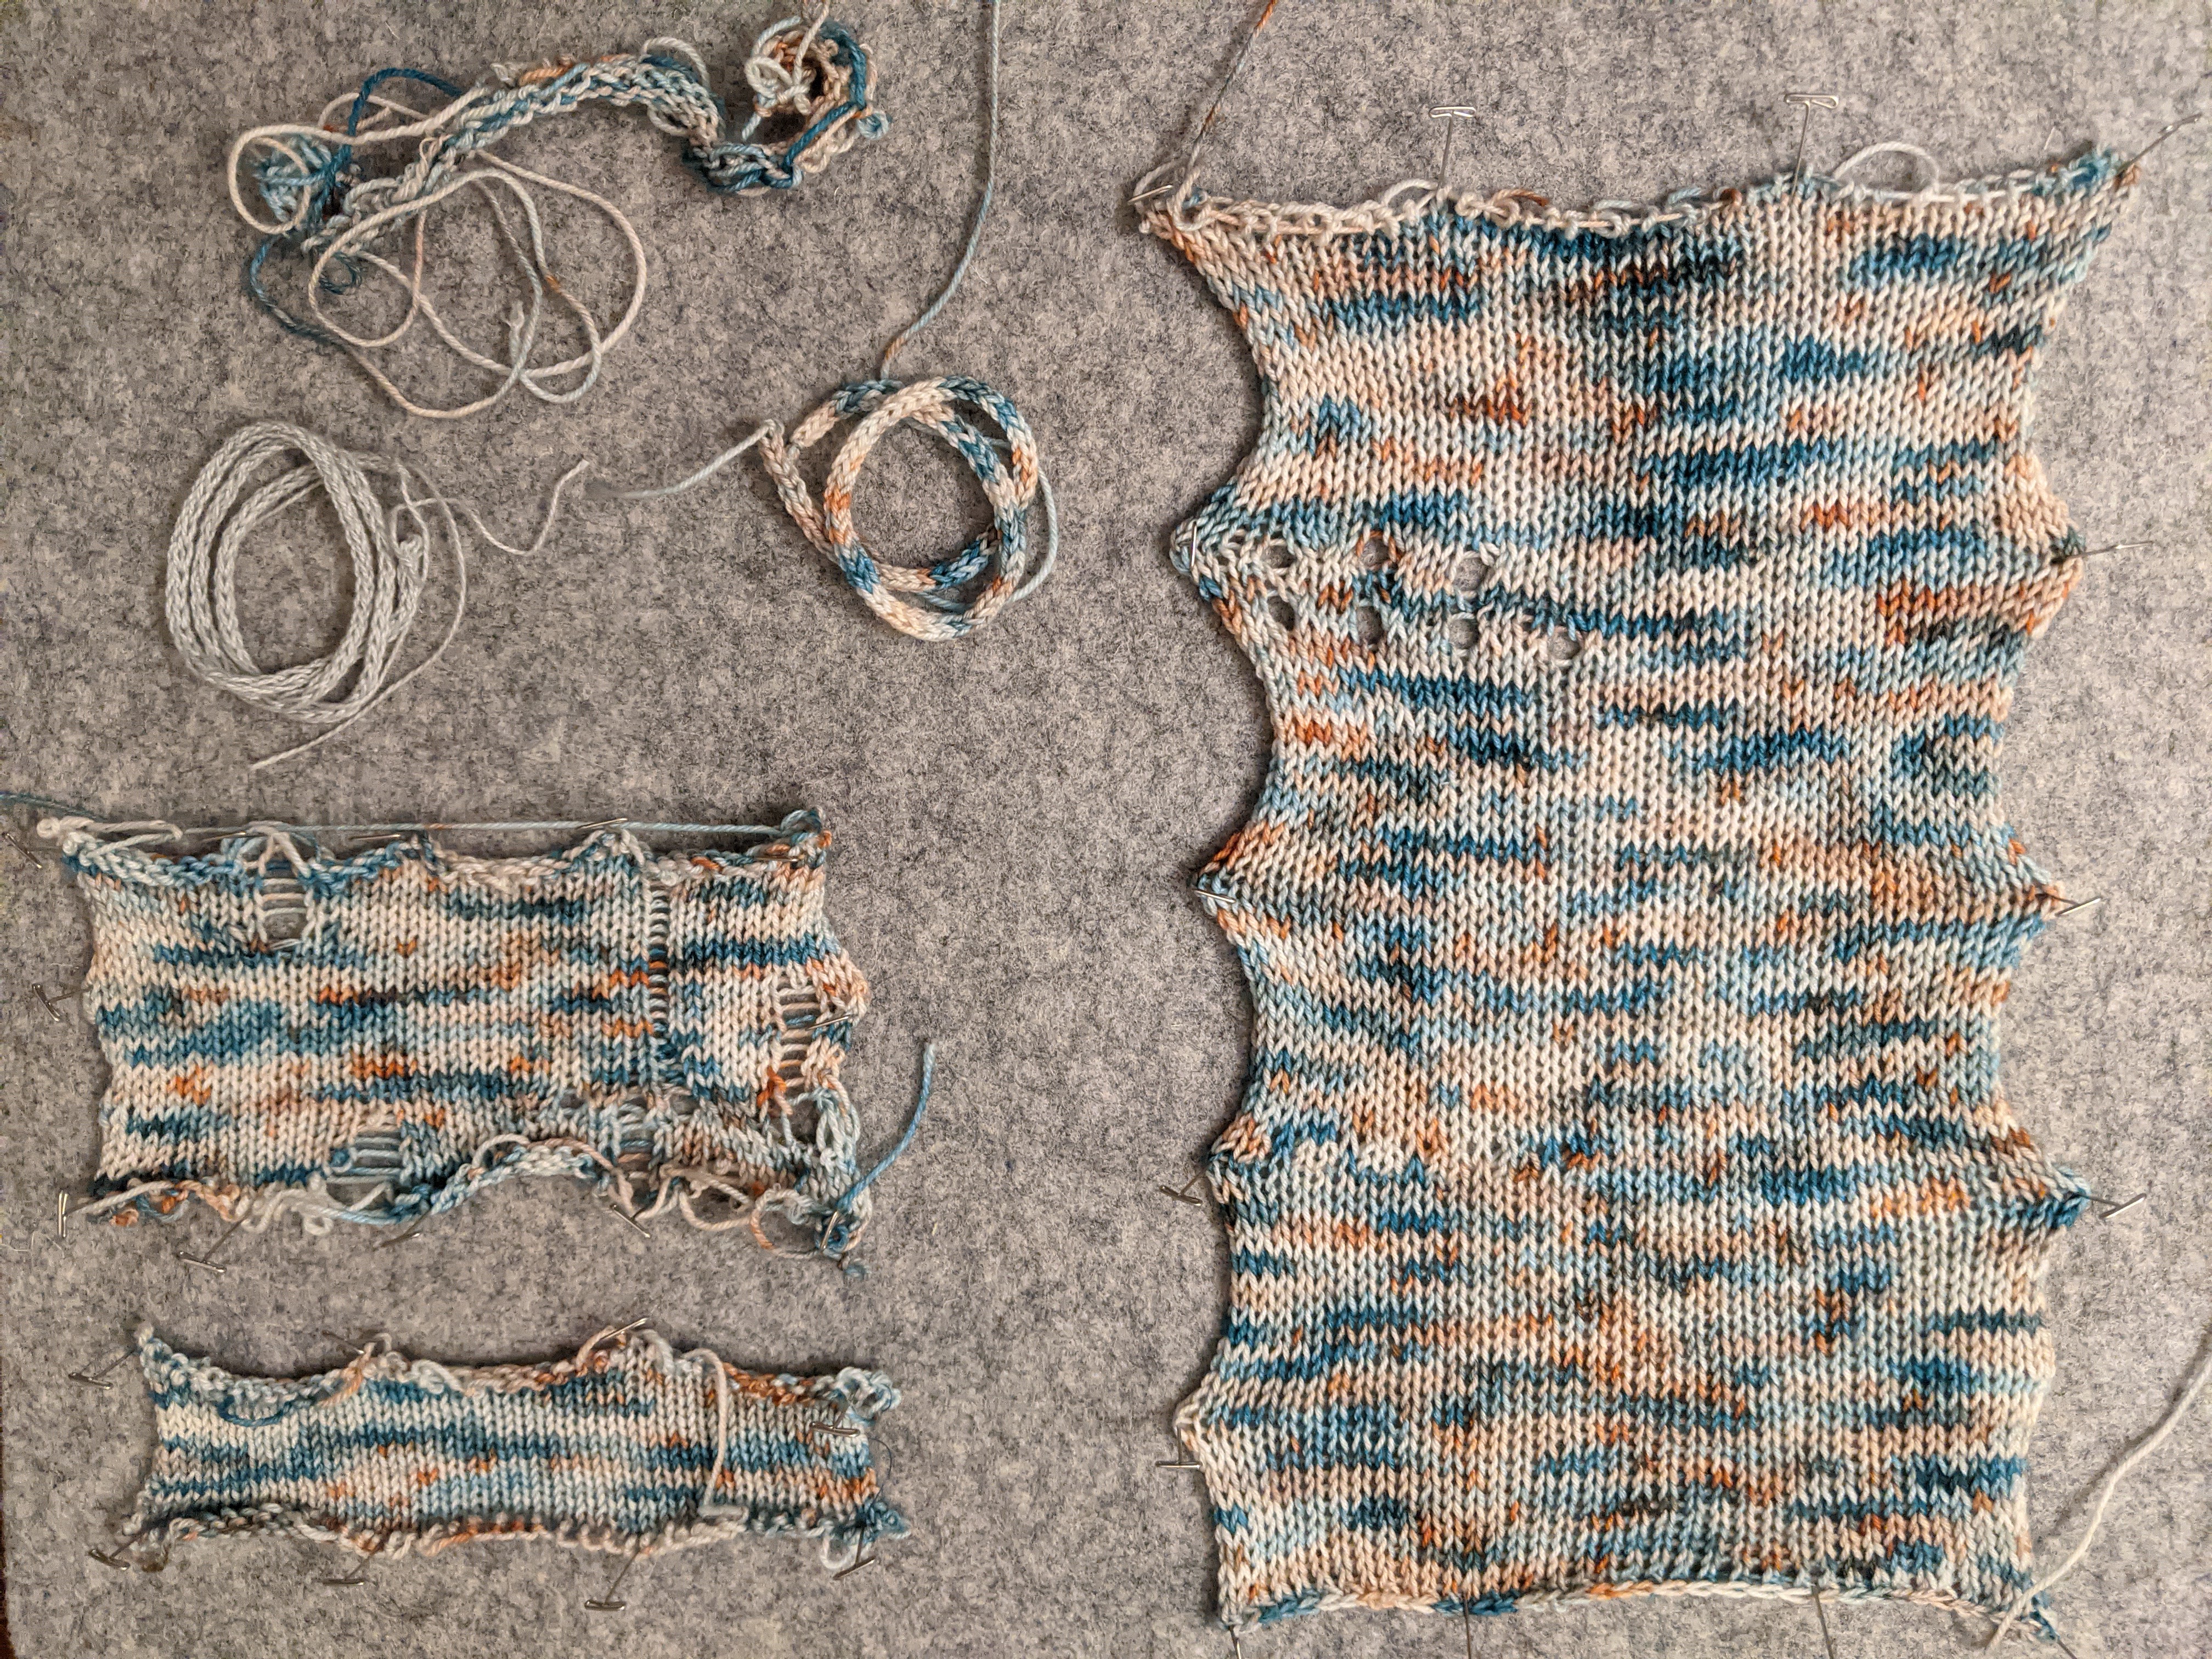
My goals were: figure out regular flat knitting, figure out ribbing, and then figure out tubular knitting. I ended up slotting "deep clean" into that list as well. It may not seem clear from this picture, but it was in need of a thorough cleaning. I made a video about the process here: YouTube.
Figuring out the basics of machine knitting were a little difficult since I didn't actually have the right cast on materials. I ended up using the ribber cast on comb in a way that it shouldn't be used, but eventually I got some knit fabric! (the picture shows some stitches haven't knit off properly -- ignore that).
 |
| Improper use of cast on comb... |
My first few swatches:
 |
| More and more success, from left to right. |
 |
| Manually-selected tuck stitch! |
I was able to figure out ribbing fairly easily, though tubular knitting took a little longer.
Tubular knitting on this machine is a little different from most modern machines, where the two carriages lock together and move as one unit.
There are four steps for every row of tubular knitting on the SK10/SR10. Written explanation below, video demonstration here: YouTube.
Set up: both carriages on the same side, let's say the right side. Main carriage is set to slip in one direction -- since we're starting on the right, it will slip from left to right. Ribber carriage is set to raise needles in one direction without knitting, and lower them in the other. Since we're starting on the right, we will set the carriage to raise needles from right to left and lower them from left to right.
Right to left:
The first pass is the main carriage across the main bed -- the stitches knit as usual. First half of the row is complete. The next three carriage passes are how the stitches on the ribbing attachment are knit.
The second is the ribber carriage across the ribbing attachment -- the needles are raised up but do not knit (if they lowered/were knit here, the stitches would just drop off).
Left to right:
Now the main carriage moves across the bed, slipping all stitches. This lays the yarn across the ribbing attachment's needles.
And finally, the ribbing attachment carriage moves across and knits stitches, leaving the needles lowered in preparation for the main bed's stitches to be knit in the next round.
The manual does say all that, but not very well, I think.
But anyway -- I've now mastered the basics of this machine and look forward to making some sock snakes!
I've tackled hats already but for some reason I'm hesitating with sock snakes, even though they're pretty much the same concept:
 | |||
| Machine knit, hand finished |
By the way, I wrote up the hat pattern: Ravelry. It's available for free!
Hopefully I'll have completed some sock snakes by the next time I post. I've ordered some very pretty sock yarn from Etsy that I'm excited to share. Counting the days till it arrives!
Comments
Post a Comment
Comments? Concerns? Criticism?